Introduction About Gapuraku
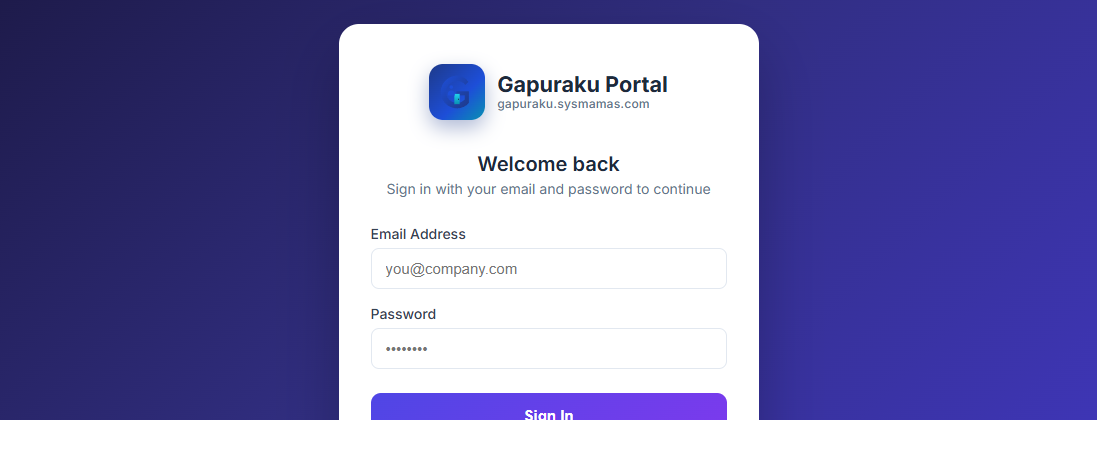
Gapuraku Portal is an internal employee portal used to manage access requests and selected employee services in one place. For end users, the main journey starts from self-registration, continues through approval, and then gives access to operational features such as Travel Request and Expense Claim.
1. User Registration
New users start from the public registration form. The system reads the company entity from the email domain and routes the request into the configured approval stage automatically.
2. Approval Stages Until New Registered User Can Login
After registration is submitted, the request follows the UREG approval flow configured for the detected entity. The user cannot sign in until the final approver completes the request.
User submits registration
The request receives a UREG request number and enters the approval workflow.
Factory Head reviews
The first approver checks the registration and reviews the default service authorization draft.
HR Division Manager reviews
The final approver confirms the registration and the available service access.
User can sign in
After final approval, Gapuraku creates the user account and enables login for that registered email.
| Stage | What Happens | User Status |
|---|---|---|
| Submitted | Registration form has been sent and is waiting for approver action. | User cannot log in yet. |
| In Approval | Approvers review the request and access draft. | User waits until the final decision is complete. |
| Approved | The system creates the active user account and assigns access for the approved services. | User can sign in. |
| Rejected | The registration request is closed and the rejection note becomes the reference for the user. | User must submit a new registration if needed. |
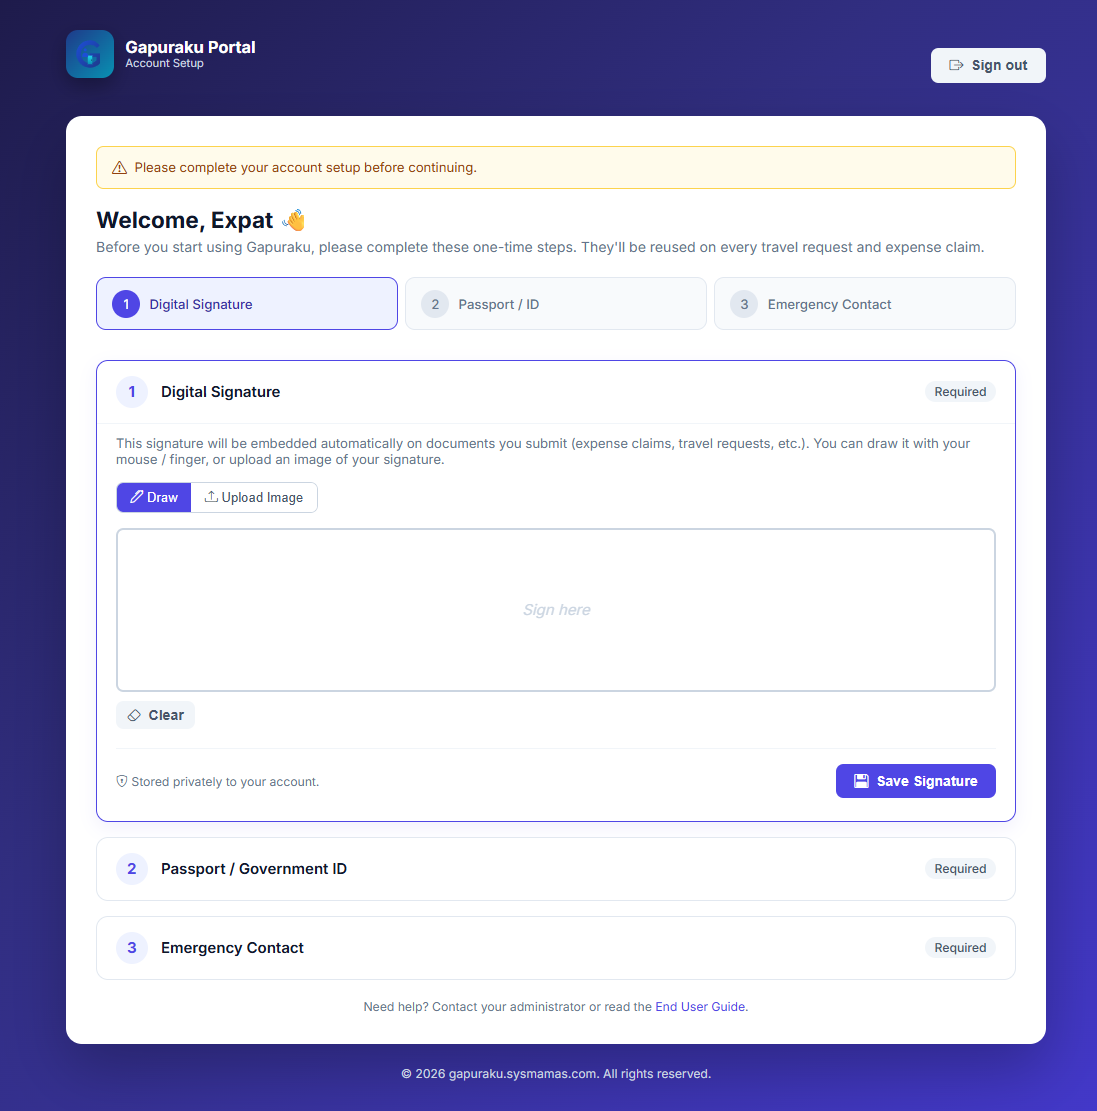
3. First-Login Account Setup (Mandatory)
The very first time an approved user signs in, Gapuraku redirects them to a guided Account Setup page. The user cannot navigate to any other screen until all three items below are saved. The wizard remembers progress, so partially-completed setup will resume where the user left off.
Digital Signature
Draw with mouse / finger or upload a PNG / JPEG / BMP image. The signature is embedded automatically on Expense Claims and Travel Requests.
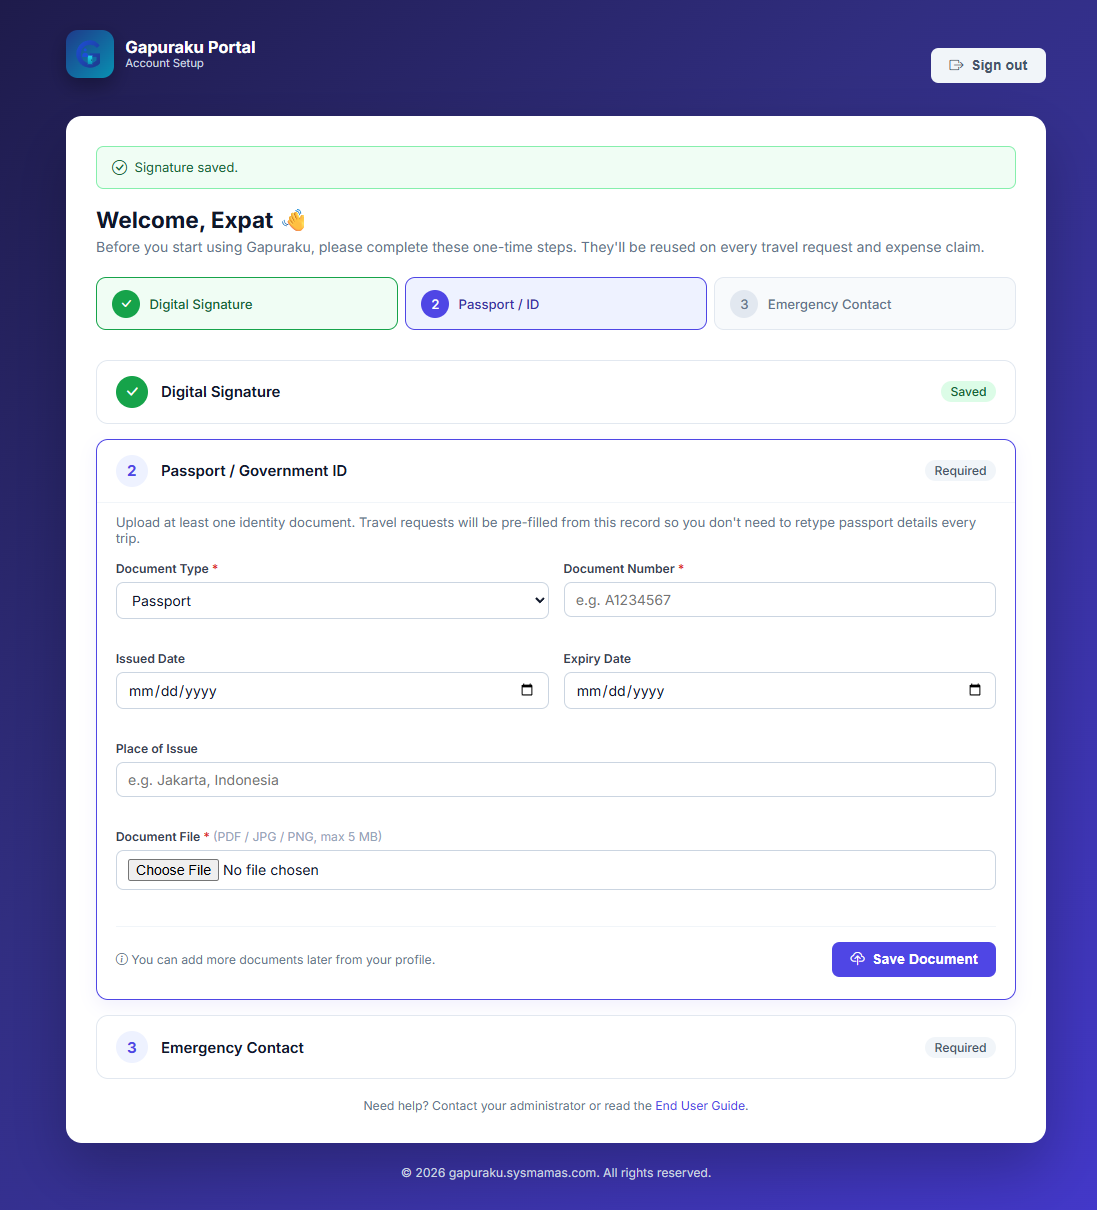
Passport / Government ID
Provide document type, document number, issued / expiry dates, place of issue, and upload a scan or photo (PDF / JPG / PNG, max 5 MB). Travel Requests are pre-filled from this record.
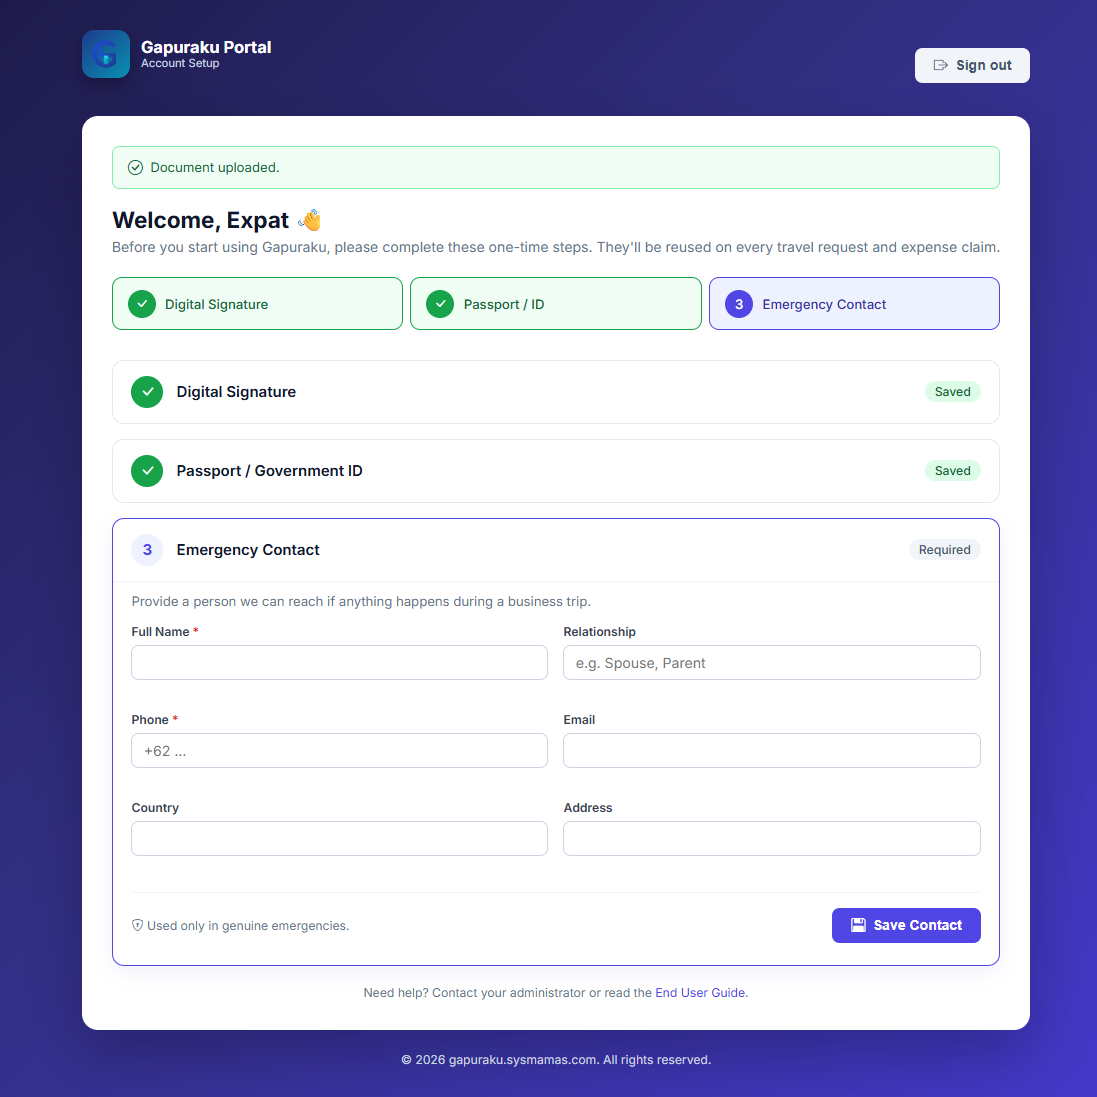
Emergency Contact
Provide a name, phone, and relationship for someone to contact in case of an emergency during a business trip. Email, country, and address are optional but recommended.
4. Features Available
At the moment, the end-user guide covers the requestor view for two available services only: Travel Request and Expense Claim.
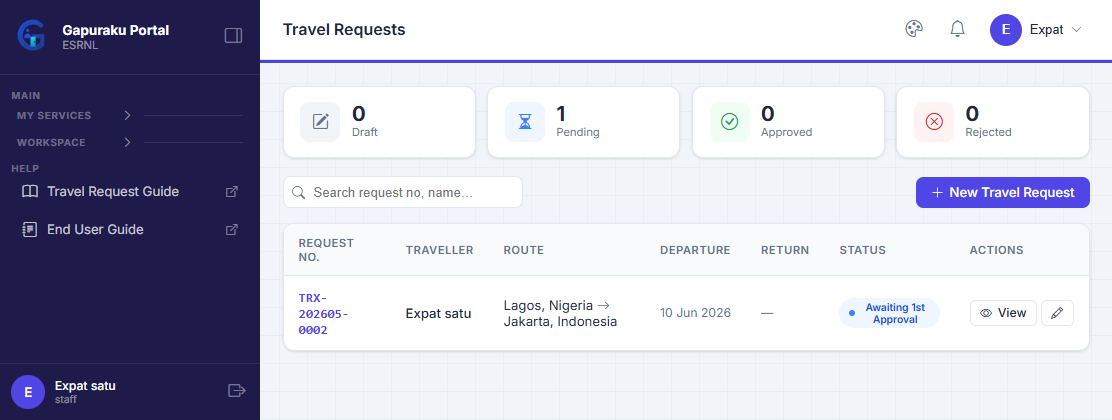
Travel Request
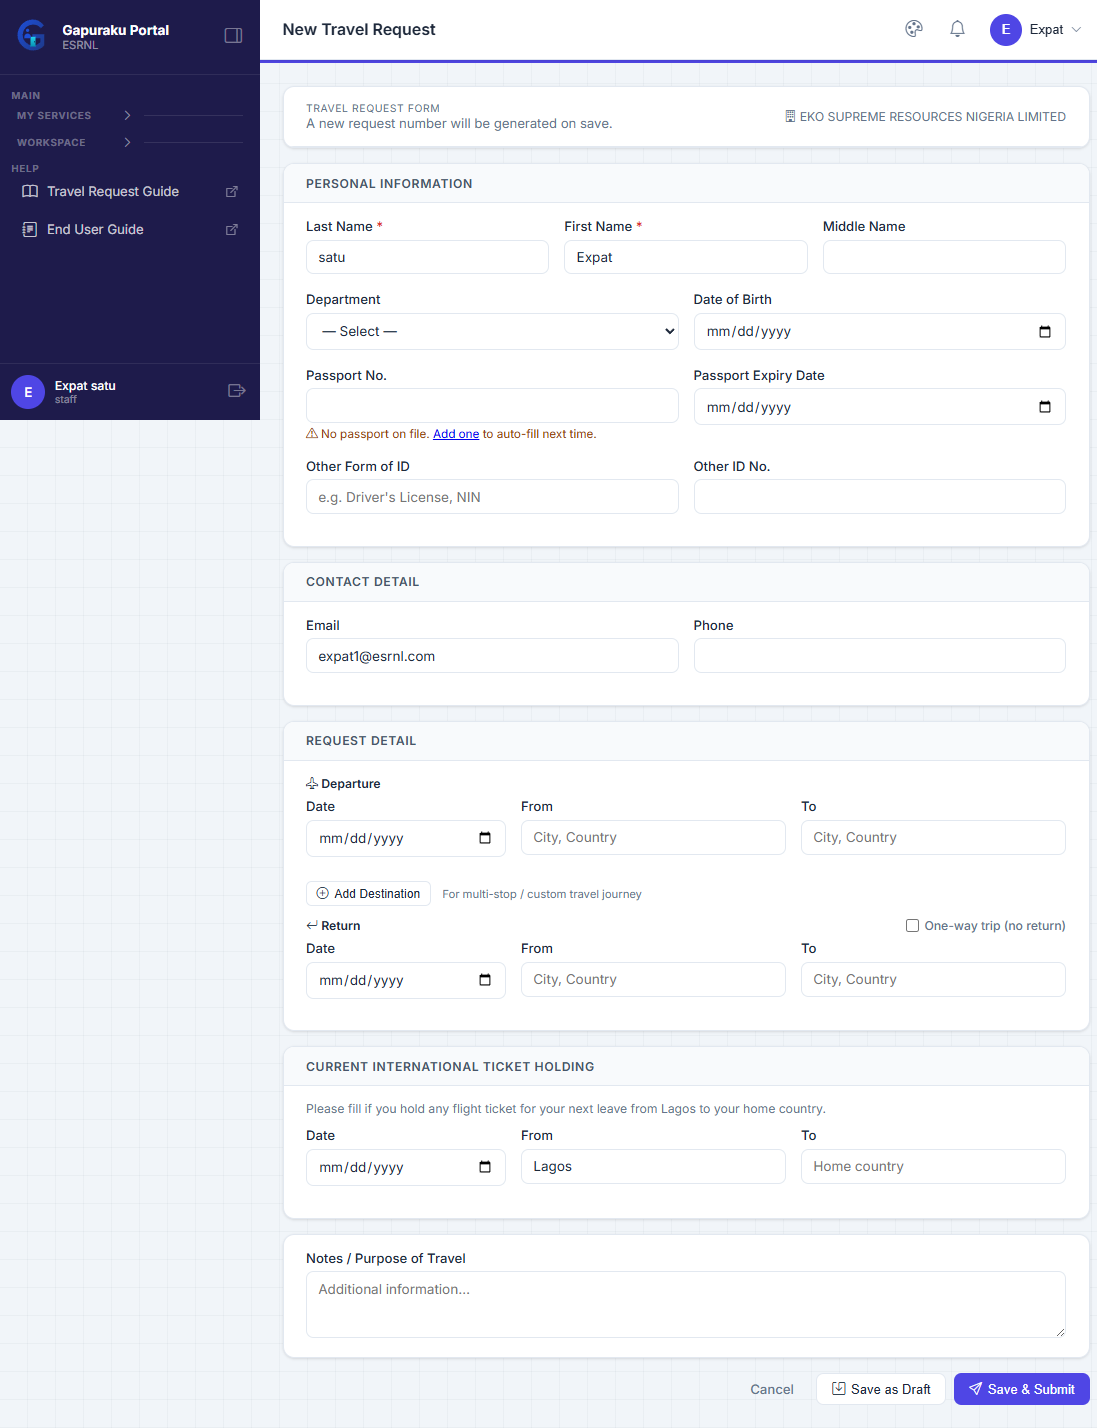
Travel Request is used by employees who need official travel arrangements. From the requestor point of view, the typical process is:
- Open Travel Request from the My Services menu.
- Create a new request and fill in the trip information such as route, dates, traveller identity, and trip purpose.
- Save the request as draft while the plan is still incomplete, or submit it once the information is ready.
- Track status updates from approvers and later from GA if ticket processing is required.
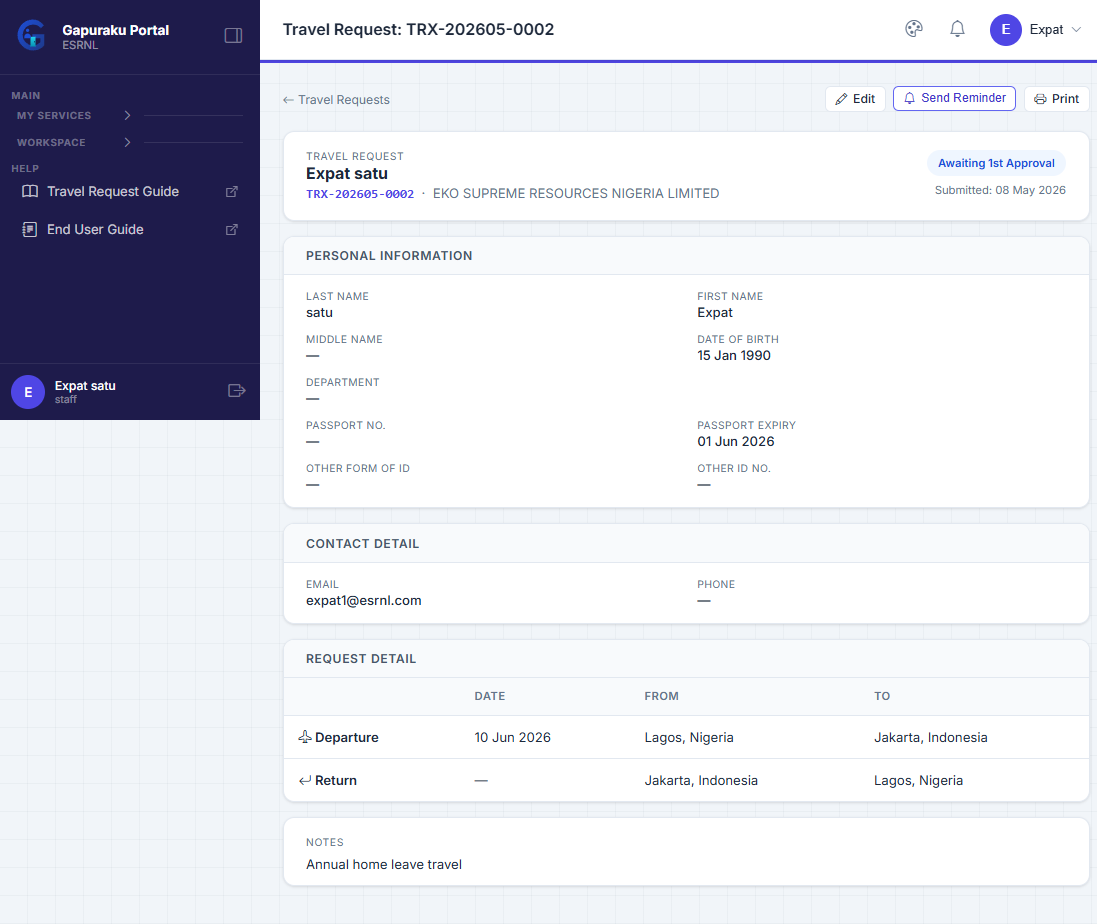
- Review the final request details and itinerary from the request page.
Expense Claim
Expense Claim is used by employees to submit reimbursement requests for eligible expenses. From the requestor point of view, the normal flow is:
- Open Expense Claim from the My Services menu.
- Create a claim and enter the title, expense items, dates, and supporting receipts.
- Save as draft if the claim is not ready yet, or submit it once the claim data is complete.
- Monitor the approval status directly from the claim detail page.
- Review the final decision and keep the approved claim as your reference record.
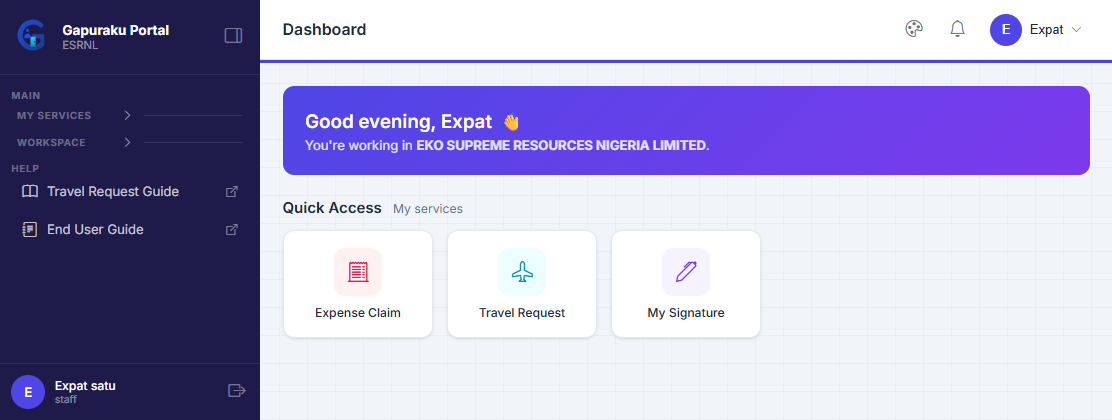
What the Requestor Sees After Login
Once approved and activated, the new user will only see the services that were authorized during the registration approval process. In the current setup, the intended end-user services are:
- Travel Request
- Expense Claim
- My Signature
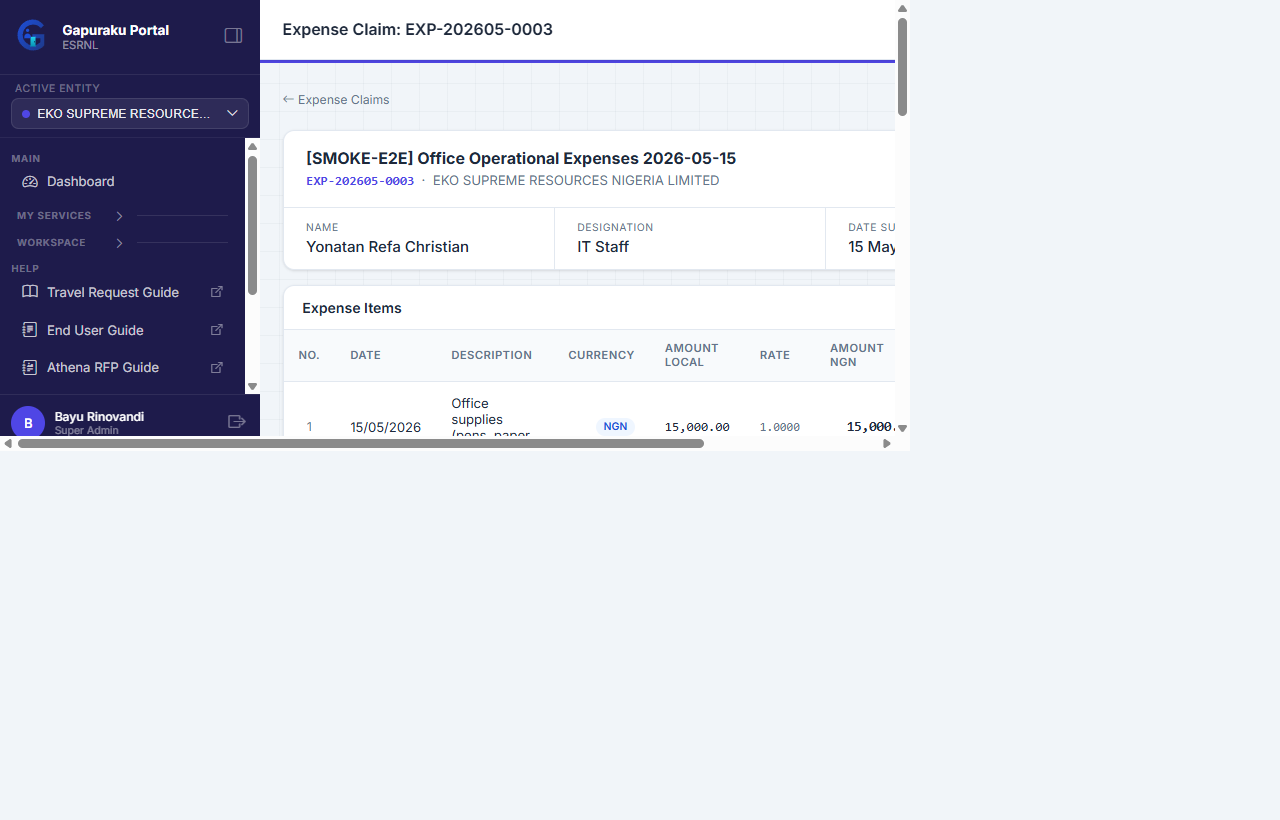
Expense Claim
Expense Claim in Gapuraku is directly connected to the Athena Finance System. Once an Expense Claim reaches Approval Completed status, Gapuraku automatically interfaces the record into Athena — the claim is pushed into Athena's RFP queue with status Approval Completed.
This means the Finance team can start processing immediately from Athena without any manual re-entry or additional notification. No document re-submission, no waiting — the moment approval is complete, Finance can act.
Create Claim
Open Expense Claim, click New Claim, and fill in the claim title, claim period, and currency.
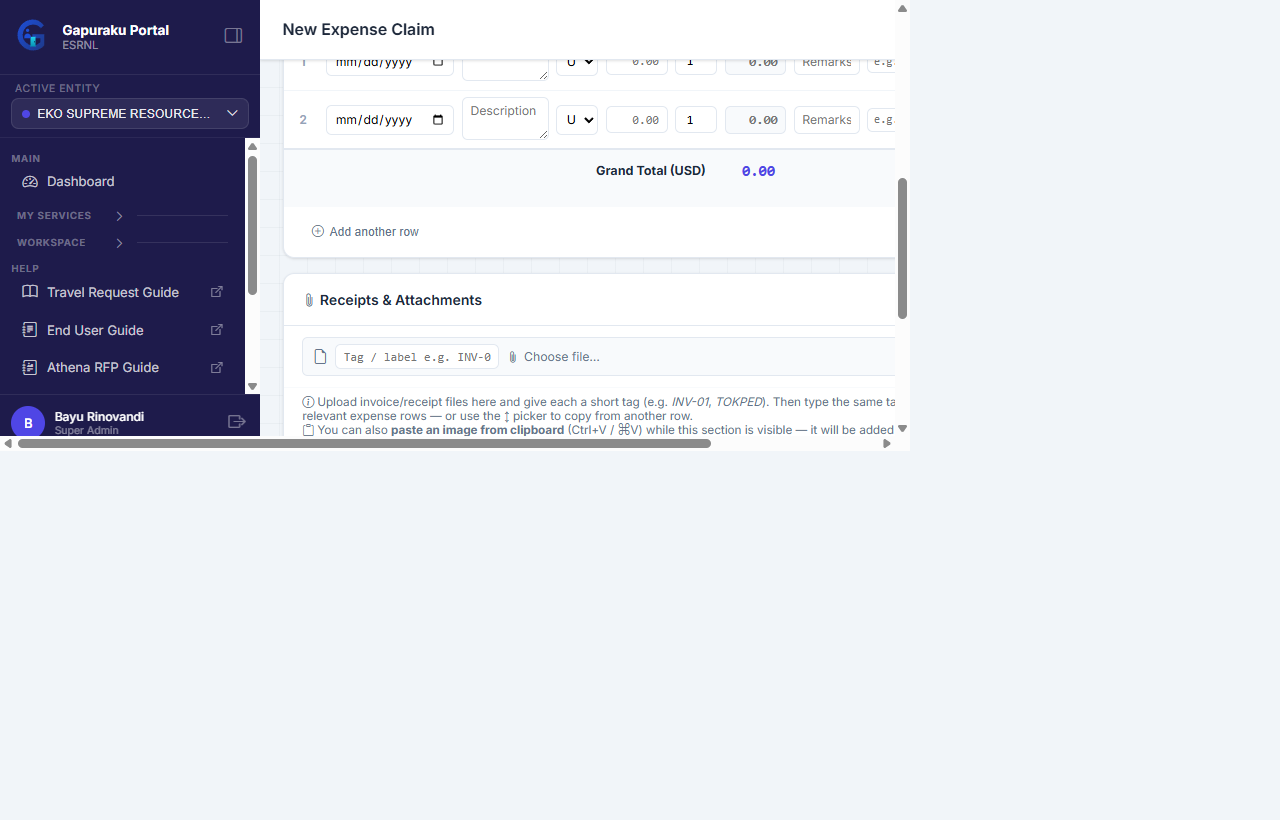
Add Line Items & Invoices
Add each expense row with category, description, date, and amount. Attach the invoice / receipt printout for each item.
Submit for Approval
When the claim is complete, submit it. The request enters the approval workflow and the requestor can track status in real time.
Approval Completed → Athena
Once the final approver approves, Gapuraku automatically pushes the claim to Athena Finance. Finance dispatches from there.
Step-by-Step: Creating and Submitting an Expense Claim
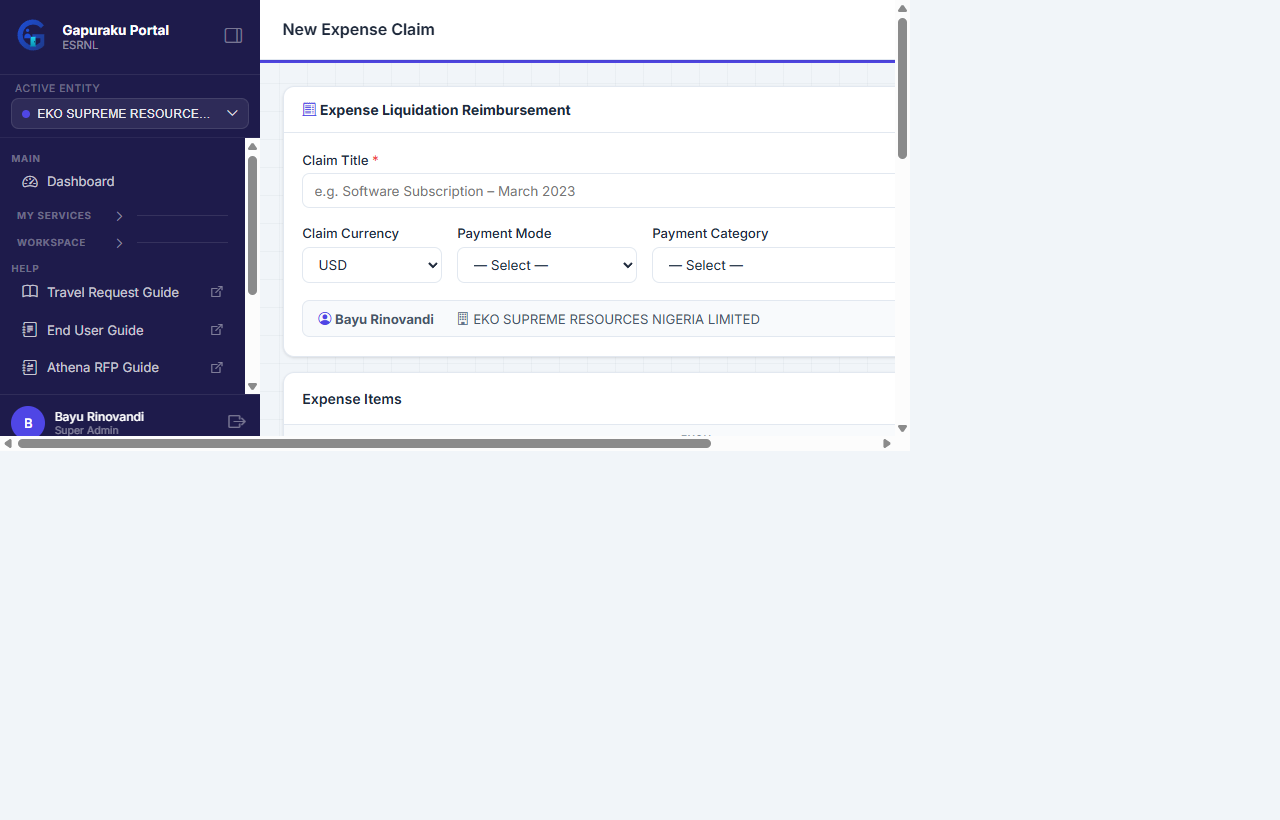
Claim Form Fields Reference
| Field | Description | Required |
|---|---|---|
| Claim Title | A short, meaningful label for the claim (e.g. "March 2026 – Business Trip Jakarta"). | Yes |
| Claim Period | Month and year that the expenses belong to. | Yes |
| Currency | The currency of the expenses. All line items under one claim share the same currency. | Yes |
| Item — Category | Expense category (e.g. Transport, Accommodation, Meals, Communication). Defined by the company. | Yes |
| Item — Description | Free-text description of the specific expense (e.g. "Grab ride from airport to hotel"). | Yes |
| Item — Date | Date the expense was incurred. | Yes |
| Item — Amount | Expense amount in the selected currency. Do not add currency symbol — numbers only. | Yes |
| Item — Invoice / Receipt | Upload supporting document (PDF / JPG / PNG). Strongly recommended for all items. | Optional |
| Remarks | Additional notes or context for the approver (optional). | Optional |
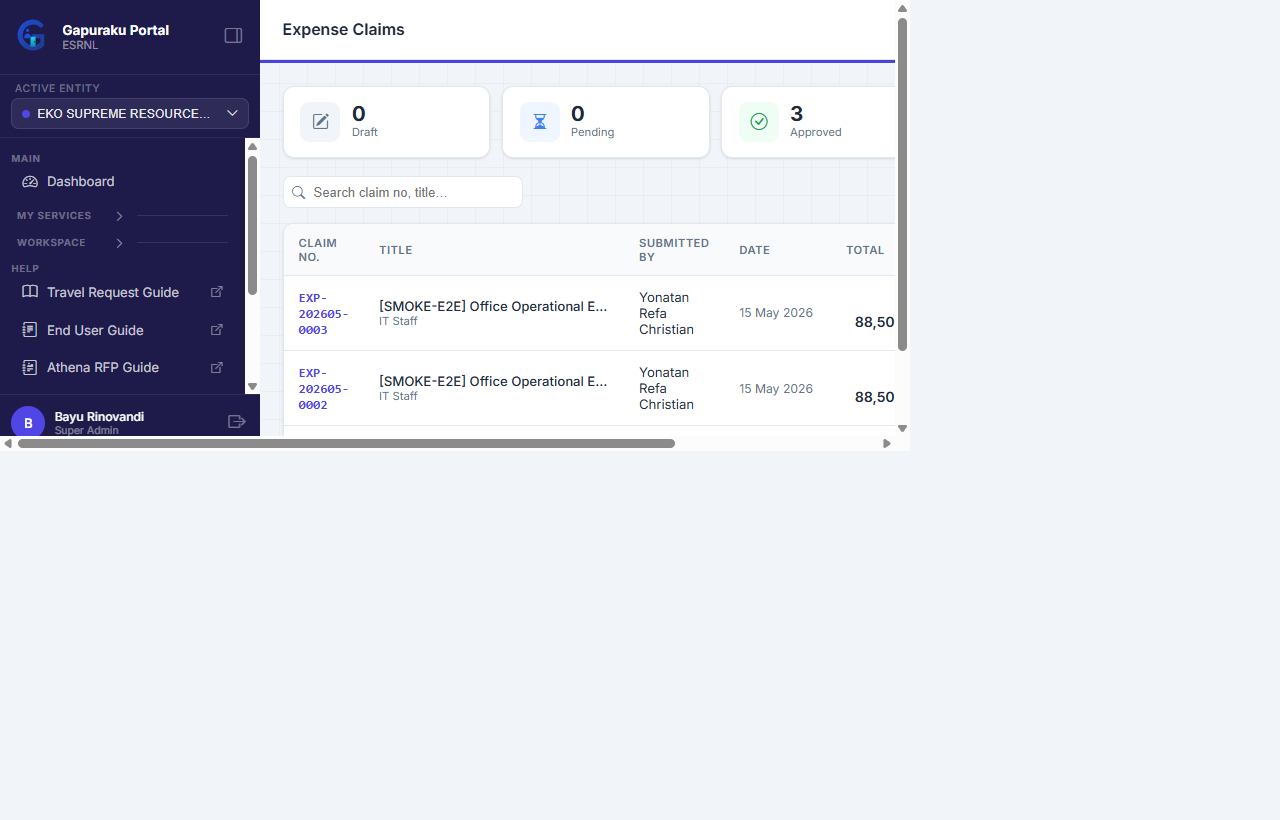
Expense Claim Status Flow
| Status | Meaning | What the Requestor Can Do |
|---|---|---|
| Draft | Claim saved but not yet submitted. | Edit, add items, upload attachments, or delete the draft. |
| Submitted | Claim submitted and waiting for approver action. | View only. Cannot edit once submitted. |
| In Approval | Approver at one or more levels is reviewing the claim. | Monitor from the claim detail page. Approver remarks are visible. |
| Approval Completed | All required approvers have approved. Claim is pushed to Athena Finance automatically. | Download the completed claim document. Finance will process from Athena. |
| Rejected | The claim was rejected at one of the approval levels. | Review the rejection note. A new claim must be created if resubmission is needed. |
What Happens After Approval Completed — Athena Finance Interface
When the final approver marks the claim as approved, Gapuraku performs the following automatically:
- The claim record is converted into an RFP (Request for Payment) entry in Athena Finance, carrying the claim title, total amount, currency, period, and requestor details.
- The RFP is created with status Approval Completed in Athena — the same status that Finance normally looks for when processing payments.
- All claim line-item details and the claimant's digital signature are embedded in the supporting document that Finance can view and print directly from Athena.
- The Finance team opens Athena, finds the RFP in the Approval Completed queue, and proceeds with the dispatch / payment process — no manual handover or email is required.